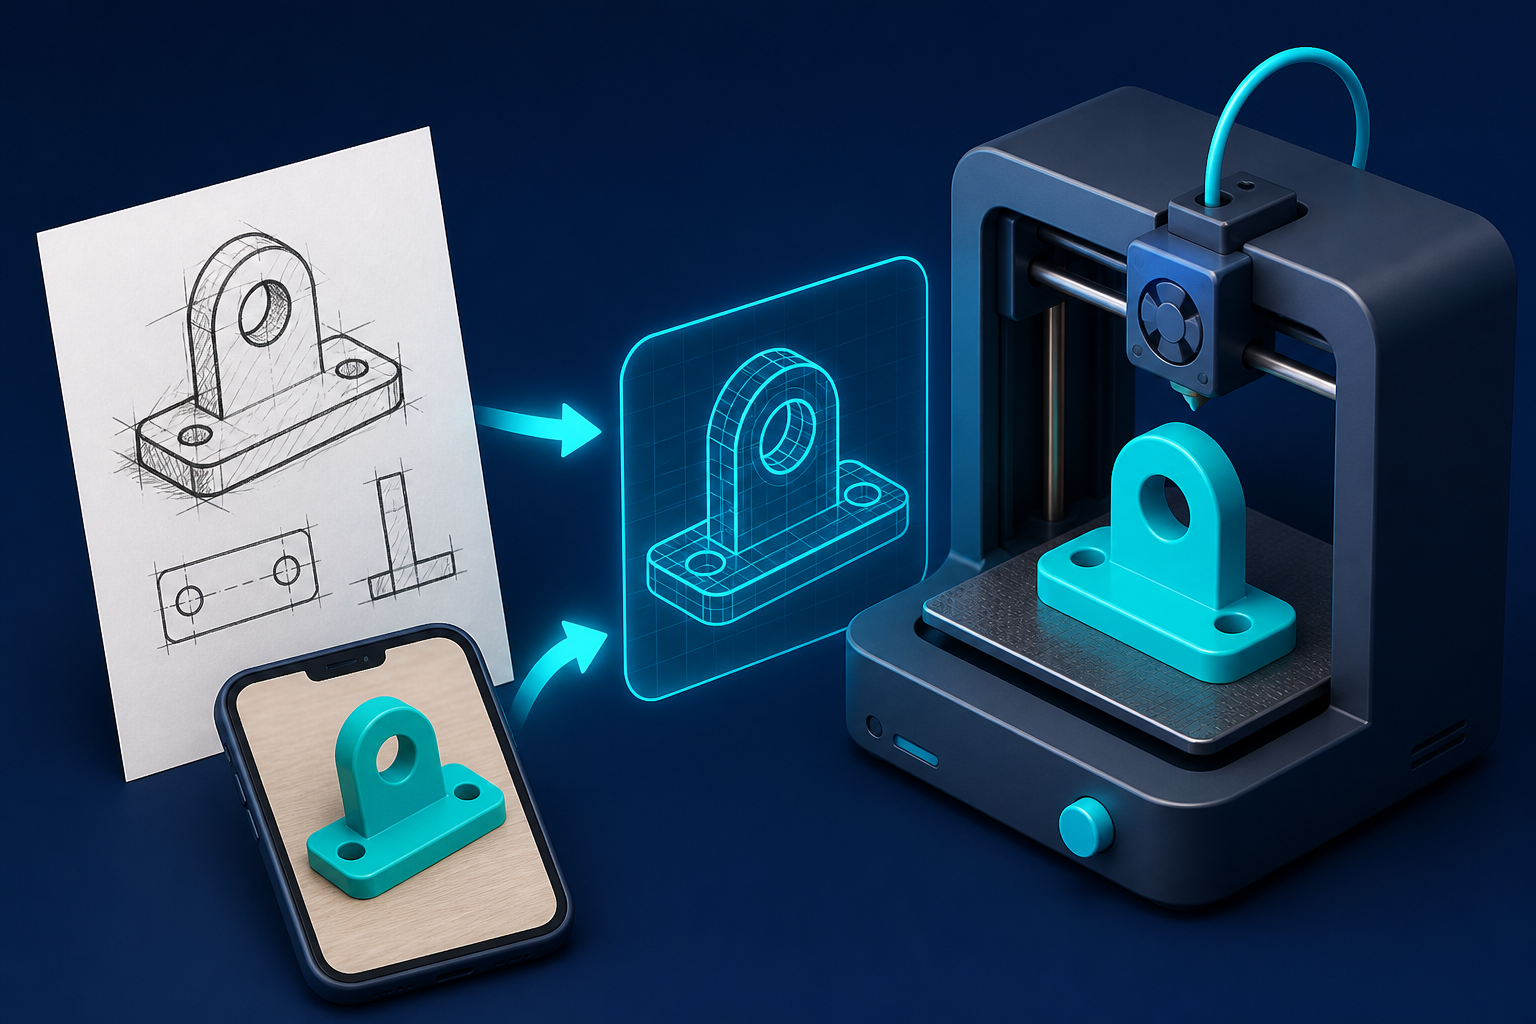
How We Turn a Sketch or Photo Into a Printable Part
Not everyone comes to a 3D printing service with a finished CAD file. In fact, a lot of useful jobs start with something much simpler: a rough sketch, a phone photo, a broken part, or an idea that is easier to show than explain.
That is completely normal.
At Cork3D, a big part of the job is turning that rough starting point into something printable, practical, and worth making. If you have ever wondered how that works, here is the process in plain English.
It starts with the problem, not the file
The first thing we need to understand is what the part is meant to do.
Sometimes that means looking at:
- a sketch with rough dimensions
- a photo of the original part
- a broken piece from an item that needs replacing
- a description of where the part fits and what it needs to solve
A clean CAD model is helpful, but it is not the only way to begin. In many cases, the useful information is the shape, the fit, the purpose, and any measurements you can provide.
A sketch is often enough to start
If you can draw the basic shape and include a few key measurements, that is often enough to begin building a printable model.
Useful details in a sketch include:
- overall width, height, and depth
- hole positions or hole diameters
- how the part attaches
- what needs to line up with other parts
- where strength matters most
The sketch does not need to look technical. It just needs to show the idea clearly enough that the important features can be understood.
Photos help when the original part already exists
If the part already exists but is broken, worn, or hard to source, photos can be a very useful starting point.
Good reference photos usually include:
- the part from several angles
- one photo showing how it fits in place
- close-ups of any clips, holes, tabs, or mounting points
- a ruler, coin, or measuring tape for scale where possible
This helps us understand the shape and spot the details that matter before modelling starts.
Measurements make everything more reliable
Photos and sketches are useful, but measurements are what make the result practical.
Even a few basic dimensions can make a big difference:
- overall size
- spacing between holes
- wall thickness
- slot width
- depth of any recess or lip
If you have callipers, great. If not, simple tape-measure or ruler dimensions are still helpful. The goal is not perfection on the first message. The goal is enough information to judge whether the part can be recreated accurately.
From reference to printable model
Once the idea is clear, the next step is creating a proper 3D model. This is where the rough input gets turned into something that can actually be printed and tested.
Depending on the job, that might involve:
- redrawing a simple shape from measurements
- rebuilding a replacement part from a broken original
- adjusting the design so it prints more reliably
- improving a weak feature from the original part
- making a small prototype before committing to the final version
This is also where practical decisions get made about clearances, material choice, orientation, and whether the part needs to be stronger, stiffer, or easier to fit.
Not every part should be copied exactly
Sometimes the best result is not a perfect duplicate.
If the original part failed because it was too thin, awkwardly shaped, or poorly supported, it often makes sense to improve the design slightly instead of recreating the same weakness. That might mean thickening an area, changing a mounting detail, or simplifying a feature that does not need to be complicated.
The point is to end up with a useful part, not just a visually similar one.
A quick test print can save time
For parts where fit matters, a test print is often the fastest way to confirm the design before finalising it.
That is especially useful for:
- brackets
- replacement clips
- mounts
- adapters
- covers
- custom organisers or holders
Small test iterations are often cheaper and faster than guessing, especially when the part needs to match an existing item closely.
This is useful even if you are not technical
You do not need to know CAD, slicing, or printer settings to get a useful result.
If you can show the part, explain the problem, and share a few dimensions, that is usually enough to start the conversation. A lot of the value in a custom 3D printing service comes from bridging the gap between “I know what I need” and “I have a production-ready model.”
For a broader look at how physical objects can be captured and rebuilt digitally, Formlabs has a useful overview of reverse engineering for 3D printing.
Final thoughts
The biggest barrier for many people is assuming they need a perfect file before asking for help. Usually, they do not.
A sketch, photo, broken part, or rough idea is often enough to figure out whether a custom print is possible. From there, the job becomes turning that rough reference into a printable model that fits, works, and solves the actual problem.
Need a custom part made from a sketch or photo? Send over a few pictures, rough measurements, or a simple drawing and we will let you know what is possible.
